
Soft and Fluffy
Gluten-free Milk Bread
Description
The Ultimate Ultra-Soft Gluten-Free Milk Bread (Shokupan)
If you have been searching for a gluten-free bread that doesn’t turn out dense, crumbly, or dry, this Gluten-Free Milk Bread (popularly known as Shokupan) is your ultimate solution. Crafted with a balanced flour blend of rice flour, cornstarch, sweet tapioca starch , and potato starch, this recipe creates an impossibly light, airy texture that mimics traditional bakery sandwich bread.
By combining heavy cream (creme de leite), warm milk, and xanthan gum, the dough locks in moisture, giving you a tender crumb that holds its shape and slices like a dream. Whether you need a reliable daily sandwich loaf, toast for breakfast, or a celiac-safe bread recipe that the whole family will love, this easy stand-mixer loaf delivers bakery-quality results right at home.
Why You’ll Love This Recipe:
- Ultra-Pillowy Texture: The dual-leavening combination of yeast and baking powder produces maximum rise and softness.
- No Crumbly Slices: Xanthan gum gives the dough elastic structure so your slices don't fall apart.
- Beginner-Friendly: Simply blend your dry ingredients, mix in your wet components, and let your stand mixer do the heavy lifting!
Ingredients
Ativar o Fermento
-
Activate Yeast
Activate the yeast with some of the lukewarm milk , mix well to dissolve .
-
Mixing
-
Combine dry ingredients: Place all the dry ingredients into the stand mixer bowl and mix thoroughly to combine before adding any wet ingredients.
-
Mix the wet base: Pour the oil, eggs, yeast, and half of the milk into the dry ingredients. Stir briefly with a spatula, then mix well using the stand mixer (or by hand) until the batter is smooth and entirely free of lumps.
-
Adjust the consistency: Gradually add the remaining milk until you achieve a thick, dense cake batter consistency—it should not be runny.
-
Prepare for proofing: Pour the batter into a baking tin lightly greased with butter or oil, then smooth the top using the back of a wet spoon.
-
Proof: Leave the batter to proof in a warm place for approximately 20 minutes.
-
Glaze (optional): Gently brush the top with an egg wash made by whisking together 1 egg yolk and 1 teaspoon of milk.
-
Bake: Bake in a preheated conventional oven (no fan) at 175°C for around 25 minutes, or until golden and cooked through.
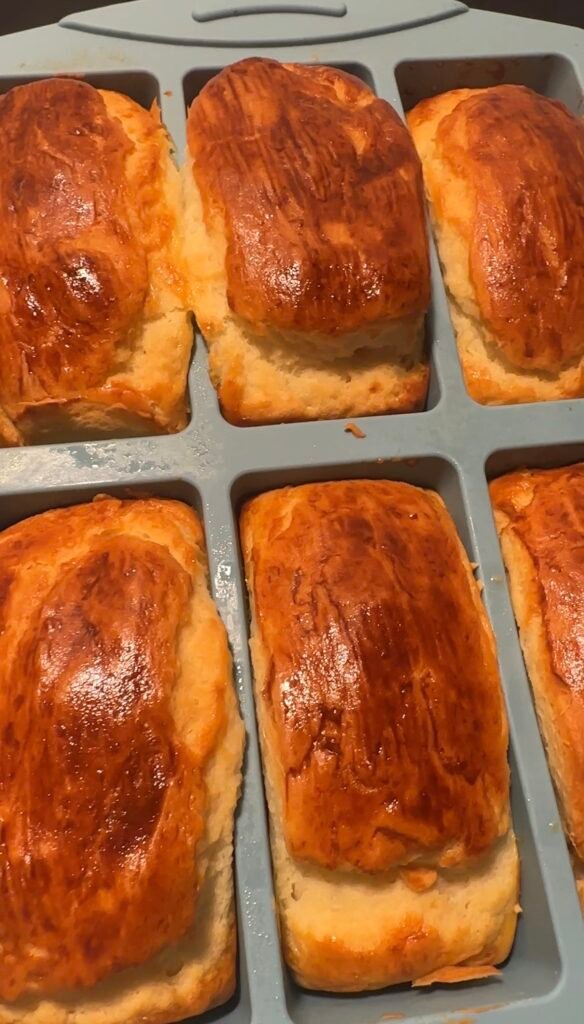
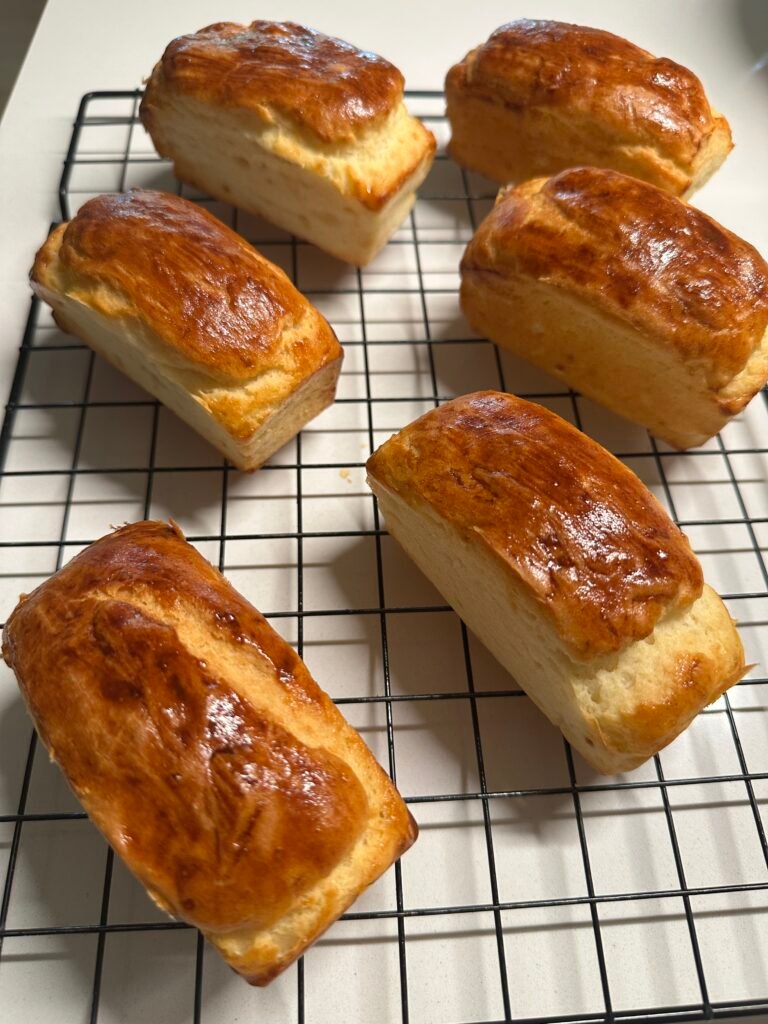
I used a silicone mini loaf tray (yielding 12 mini loaves), but a muffin tin or a standard loaf tin works just as well. -