
by Fabi@Pragier | Jun 26, 2025 | Recipes
Chicken Crêpe with tomato sauce
7 UNITS
Ingredients Crêpe
Ingredients Chicken filling
Ingredients Tomato sauce
-
300g Peeled tomato 🍅
-
1 Onion
-
2 Garlic cloves
- Salt , black pepper and oregano 🌿
- Olive oil to cook
Watch video here
https://youtu.be/US-p18o408g?si=Vo3RT4z0k5sejmR6
Method
-
Using a blander or hand mixer , blend well all the Crepe ingredients
-
In a hot frying pan , pour a ladle of the mixture and cook over medium heat until bubbles appear and the crepe comes away completely. Turn over and cook on the other side. Remove gently and repeat the process.
-
Cook the chicken in salted water just to cover the bottom of the pan, cover and let the steam cook just enough to change color and be shredded, we will finish browning/cooking it in the next step. Save the cooking water .
-
Shred the cold chicken using a stand mixer, two forks or even your hands.
-
Sauté the garlic and onion, add the chicken and all the seasonings, and let brown. Deglaze with the water from cooking the chicken , season and add the other ingredients except the herbs, always keeping the chicken slightly moist.
-
Off the heat add the Vegan cream cheese and herbs
-
Sauté garlic and onion and add the tomato, lower the heat and let cook for about 15 minutes. Season and, off the heat, add the herbs.
-
Assemble the pancakes, place them in an ovenproof dish and cover with the sauce.
- Pre heat oven in 180° and bake approx. 15 Minutes

by Fabi@Pragier | May 23, 2025 | Recipes
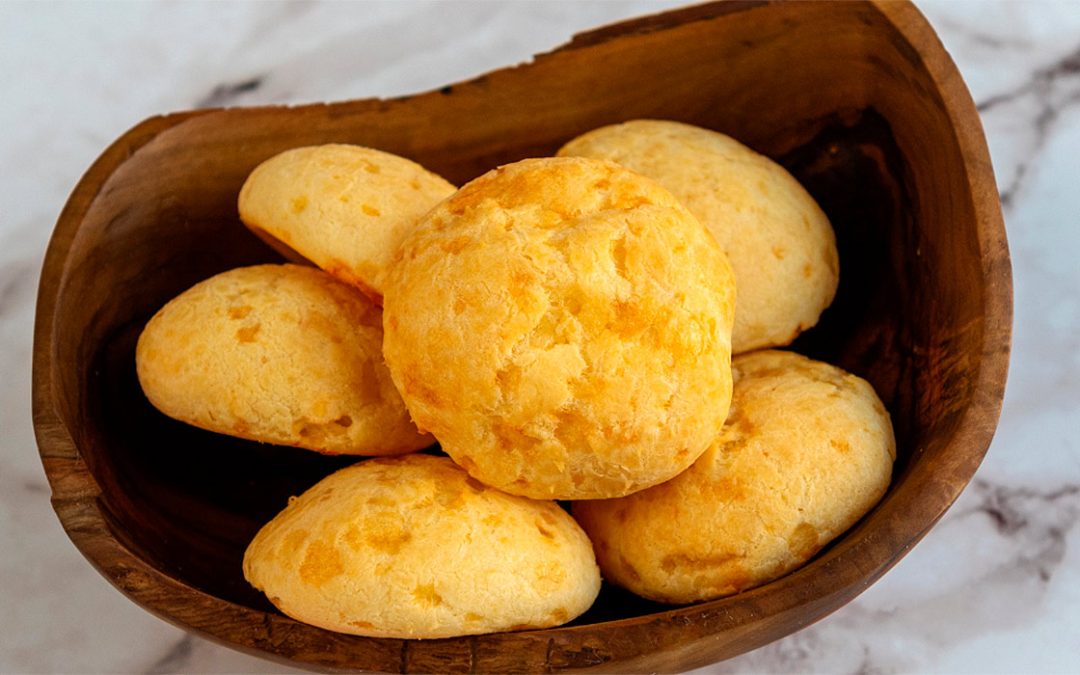
Brazilian Cheese Bread – Gluten-Free & Dairy-Free
Ingredients
-
300g sweet cassava starch (also known as “polvilho doce”)
-
3g salt
-
150g whole eggs
-
95g water
-
100g plant-based milk (I used oat milk)
-
50g vegetable oil (I use olive oil)
-
55g vegan butter
-
300g aged cheese – vegan or not (depending on your diet and restrictions). I used pre-grated plant-based cheese (preferably one that melts well). If you’re not dairy-intolerant, pecorino is a good option and is considered lactose-free due to its minimal lactose content.
Method
-
Preheat the oven to 180°C.
-
In a saucepan, combine the water, salt, plant-based milk, olive oil, and vegan butter. Bring to a boil and let simmer on low heat for one minute.
-
Pour the mixture into the bowl of a stand mixer, add the sweet cassava starch, and mix well. Beat until combined. Let it cool down before adding the eggs, as you don’t want to cook them.
-
Gradually add the eggs, beating until fully incorporated.
-
Coarsely grate the cheese and mix it into the dough just enough to distribute it evenly. No need to overmix or dissolve the cheese completely.
-
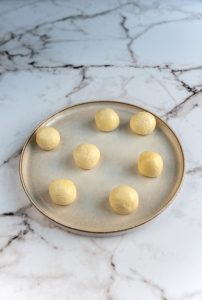
Divide the dough into small cheese bread balls, about 15 to 30g each — I made mine 30g.
-
Chill the dough in the fridge for a few minutes before shaping. Grease your hands with oil or, if you prefer, lightly moisten your hands with water, then shape the dough and place the balls on a baking tray lined with parchment paper.
-
Bake for 17 minutes or until golden brown.
They taste best when warm 😀

by Fabi@Pragier | May 23, 2025 | Recipes
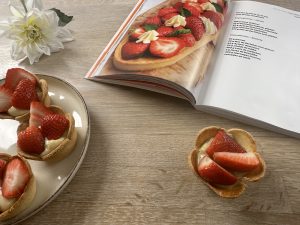
This pie is absolutely delicious, many people say it’s even better than a classic pie. You’ll want to keep this recipe forever because the base pairs perfectly with other sweet fillings and the cream can be used with different fruits. Its crunchy texture and incredible versatility make it one of the most praised recipes in my book.

Recipe – 22 cm Ring
Ingredients for the tart base
100 g eggs
60 g demerara sugar
65 g vegan butter (cold)
270 g gluten-free flour mix
60 g ground almonds
Ingredients for the cream filling
300 g almond milk
20 g rice flour
20 g corn flour
90 g egg yolk
65 g demerara sugar
3 g vanilla paste
300 g fresh fruit
Let the tart dough cool before adding the cream filling and strawberries.
Método
- Beat the eggs and sugar until dissolved.
- Using a paddle, mix in the GF flour and ground almonds mixture, add the cold butter pieces and make a crumble.
- Add the egg mixture to the crumble and mix until it forms a ball and the bowl is clean.
- Wrap in plastic wrap and leave to rest in the fridge for 30 minutes.
- Roll out the dough and place in the ring as shown in the lesson (and between 2 sheets of baking paper).
- Prick the base with a fork and use the baking beans to blind bake.
- Bake in the oven at 180° for approximately 15 minutes with the beans and another 15 minutes without them, until lightly golden and leave to cool.
- For the custard, beat the egg yolks with half the sugar, add the flours and set aside.
- In a saucepan, gently heat the other ingredients (about 60°), temper the egg yolks and return to the heat, stirring until pale.
- Leave to cool and beat again if you need to use a mixer.
You can freeze the finished pie without the fresh fruit or just the baked crust for up to 90 days.
by Fabi@Pragier | May 3, 2025 | Recipes
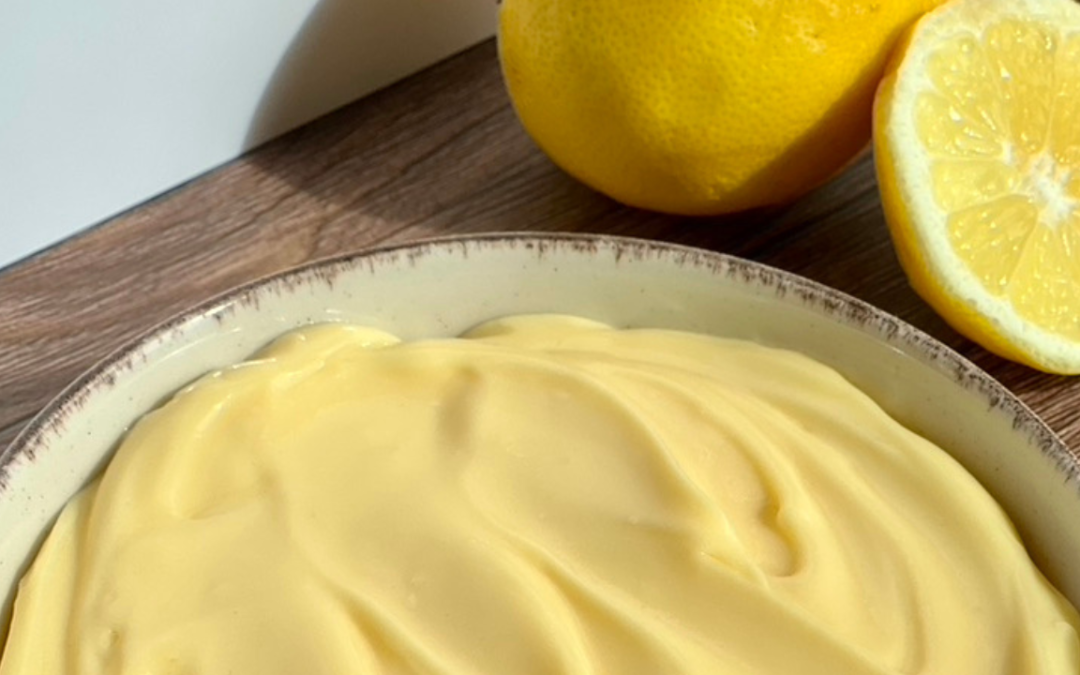
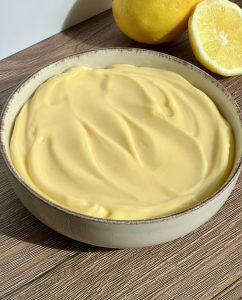
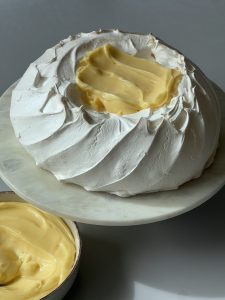
Dairy-free Lemon Curd
Perfect for Cakes, Tarts, and Gluten-Free Dairy-free Desserts
Ingredients
- 10g gelatine sheets ( 3-4 units)
- 200g freshly squeezed lemon juice
- 60g egg yolks
- 300g whole eggs
- 300g demerara sugar
- 340g vegan butter
Method
- Soak the gelatine sheets in a bowl of cold water to hydrate.
- Gently warm the lemon juice in a small saucepan — do not boil.
- In a separate bowl, whisk together the eggs, egg yolks, and sugar until the mixture is light and pale.
- Temper the egg mixture by slowly pouring in the warm lemon juice while whisking.
- Return the entire mixture to the pan and cook over medium heat, stirring constantly, until it comes to a gentle boil and thickens to a custard-like consistency.
- Remove the excess water from the gelatine, then stir it into the hot lemon crème until completely dissolved.
- Take the pan off the heat and add the vegan butter, stirring until fully incorporated and smooth.
- Use the lemon crème while still warm to fill your cake or tart, before the gelatine sets.
Tips for the Perfect Lemon Curd
- For a more intense lemon flavour, add some finely grated lemon zest along with the juice.
- This recipe pairs beautifully with gluten-free sponge cakes, vegan tarts, or as a layered dessert component.
- Store leftovers in the fridge for up to 3 days — simply whisk gently before using again.
- The gelatine is not needed if the dessert in in a glass or Jar
by Fabi@Pragier | May 2, 2025 | Essentials
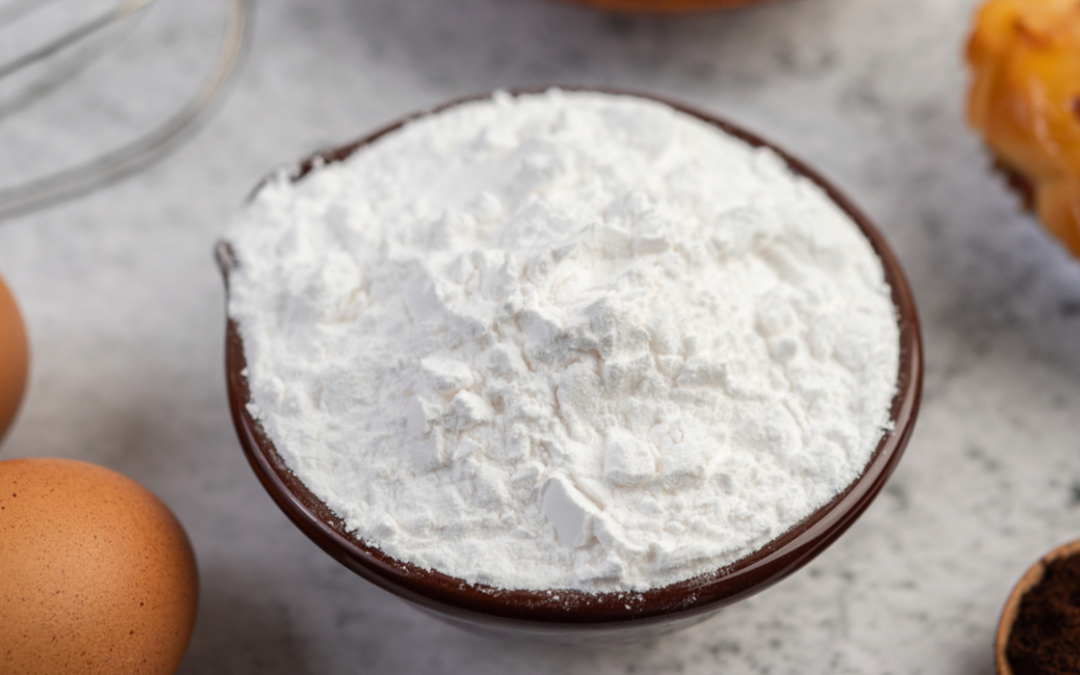
What Is Xanthan Gum?
If you’ve started baking gluten-free, chances are you’ve come across the ingredient xanthan gum. But what exactly is it?
Xanthan gum is a natural food additive commonly used to thicken, bind, and stabilize recipes — especially in gluten-free and dairy-free cooking. It helps give baked goods the texture and structure that gluten would normally provide.
How Is Xanthan Gum Made?
Xanthan gum is produced by fermenting simple sugars (usually from corn, soy, or wheat) with a specific type of bacteria called Xanthomonas campestris. After fermentation, the mixture is dried into a fine white powder — that’s the xanthan gum we use in recipes.
Even though it comes from a scientific process, it’s considered safe and widely used in both home kitchens and commercial foods.
Why Is Xanthan Gum Used in Gluten-Free Baking?
When you remove gluten from a recipe, you also lose the protein that gives dough its stretchiness, structure, and bounce. Xanthan gum fills that role.
What xanthan gum does:
- Helps bind ingredients together
- Prevents baked goods from being crumbly or dry
- Adds elasticity to doughs and batters
- Improves texture in breads, cakes, muffins, and cookies
Without it, many gluten-free recipes would fall apart — literally!
Is Xanthan Gum Safe and Allergy-Friendly?
- Xanthan gum is naturally gluten-free
- It’s vegan and dairy-free
- Most people tolerate it well, even in small daily amounts
However:
If you have severe allergies to corn, soy, or wheat, check the source of the xanthan gum, as trace allergens might be present. Some brands are certified allergen-free — always read the label carefully.
A few people may experience mild digestive discomfort if they consume large quantities.
How Much Xanthan Gum Should You Use?
In gluten-free baking, a little goes a long way.
General guidelines:
- Cookies: 1/4 teaspoon per cup of flour
- Cakes and muffins: 1/2 teaspoon per cup of flour
- Breads and pizza dough: 1 teaspoon per cup of flour
Always mix it with the dry ingredients to avoid clumping.

Best Substitutes for Xanthan Gum
If you’re avoiding xanthan gum, you can still bake successfully! Here are some natural, allergy-friendly alternatives:
- Psyllium Husk
- Excellent for gluten-free breads
- Adds structure and flexibility
- Use 1 tablespoon for every teaspoon of xanthan gum
- Chia Seeds or Ground Flaxseeds
- When soaked in water, they form a gel that helps bind ingredients
- Great for cookies and muffins
- Use 1 tablespoon seeds + 3 tablespoons water = 1 egg or 1 tsp xanthan gum
- Guar Gum
- Similar texture and function
- Made from guar beans
- Use in the same amount as xanthan gum
- Agar-Agar or Gelatin (for specific recipes)
- Good for thickening or gelling, especially in dairy-free desserts
Chef’s tip :
Xanthan gum may sound like a complicated ingredient, but it’s an essential tool in the world of gluten-free and dairy-free baking. Whether you choose to use it or prefer natural substitutes, understanding how it works will help you create recipes with better texture, moisture, and structure — all without gluten or dairy.
